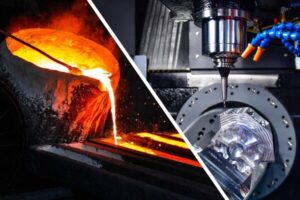


In the world of CNC Machining, CNC Milling and CNC Turning are two of the most widely used manufacturing processes. Each has its strengths, but in some cases—especially for complex parts like custom shift knobs—a hybrid approach (milling first, then turning) is necessary. So, why does this sequence matter? This article explores the reasoning behind it, with insights tailored for the American manufacturing and automotive enthusiast community.
1. Milling vs. Turning: Key Differences
Before diving into the “why,” let’s clarify how these two CNC processes differ:
- CNC Milling
- Best for complex geometries (pockets, 3D contours, engravings).
- The cutting tool rotates while the workpiece stays fixed (multi-axis capability).
- Ideal for blocks, irregular shapes, and detailed features.
- CNC Turning
- Optimized for cylindrical/conical parts (think shafts, bushings, threaded components).
- The workpiece spins while the tool remains stationary.
- Perfect for high-precision round parts and mass production.
Since each method excels in different areas, combining them unlocks new possibilities—especially for performance-driven or custom parts like shift knobs.
2. Why Shift Knobs Often Need Milling Before Turning
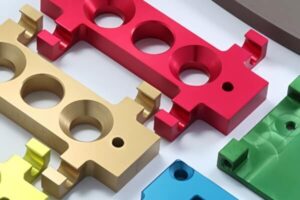
Custom shift knobs (a popular upgrade among car enthusiasts in the U.S.) often feature intricate designs: engraved logos, ergonomic grips, or even weighted cores for better shifting feel. Here’s why milling usually comes first:
(1) Milling First: Handling Complex Features
- Most shift knobs aren’t just simple cylinders. They might have:
- Textured grips (e.g., baseball-style stitching patterns).
- Branding or custom text (e.g., “Ford Performance” or a driver’s initials).
- Anti-rotation flats (to prevent loosening over time, common in aftermarket knobs).
- A CNC mill can carve these details with precision, while a lathe (turning) struggles with such complexity.
(2) Turning Second: Precision & Surface Finish
- After milling, the part might still need:
- A smooth, polished exterior (critical for premium feel).
- Threaded inserts (to match the shifter linkage—common sizes include M10x1.25 or M12x1.25 in U.S./Euro cars).
- Balancing (for weighted knobs, ensuring no vibration at high RPMs).
- Turning refines the part, removing milling marks and ensuring perfect roundness.
(3) Material & Efficiency Benefits
- Aluminum, titanium, or delrin (common shift knob materials) can warp if turned first due to residual stresses. Milling removes bulk material safely.
- Reduced machining time: Roughing via milling + finishing via turning is faster than trying to do everything on one machine.
(4)The Core Advantages of Milling Before Turning: Precision and Workholding Perfected
In CNC machining, the “mill first, turn second” sequence isn’t arbitrary—it’s driven by two fundamental engineering imperatives:
1. Precision First: Guaranteeing Critical Tolerances
- Milling establishes the foundation: By creating precision datum surfaces (flats/features) that serve as the reference frame for subsequent turning operations
- Turning delivers final accuracy: Machining critical dimensions (e.g. ±0.01mm shafts, threaded fits) against milling-created datums
2. Workholding Revolution: From Compromise to Perfection
Proto Labs data shows: Proper datum design reduces rechucking errors by 35%
Milling enables smarter fixturing: Machining dedicated locating slots/tooling bosses that increase turning setup efficiency by 50%+
Characteristic applications:
Shift knobs milled with base flats prevent slippage during turning
Hydraulic valve bodies with milled side datums ensure bore concentricity
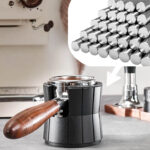
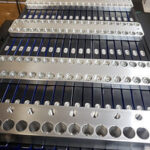
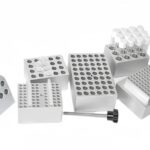
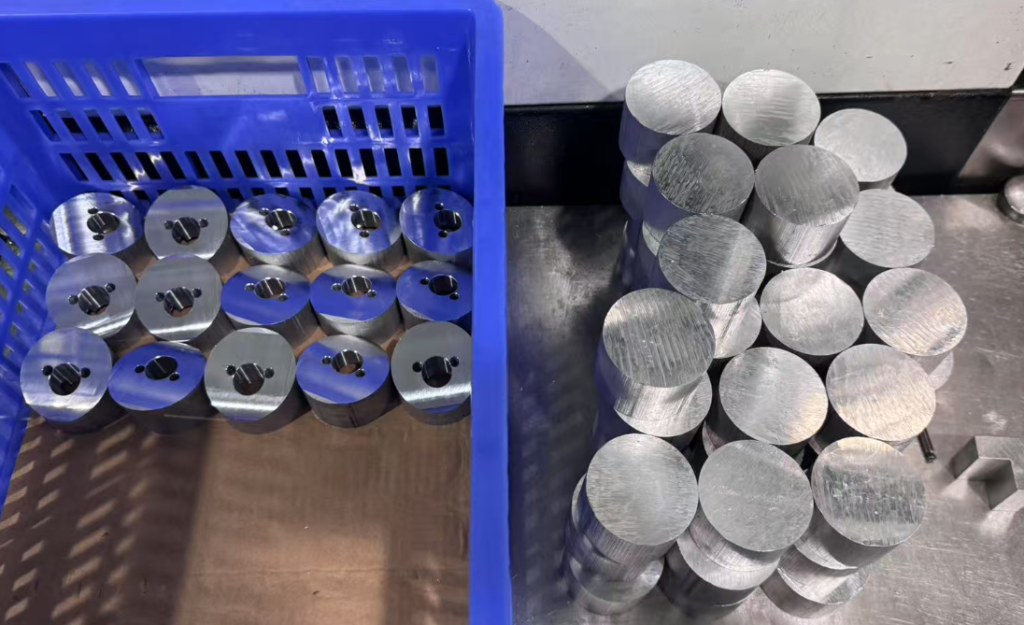
3. Real-World Example: How a Custom Shift Knob Is Made
Let’s break down how a Billet Aluminum Shift Knob (like those sold by U.S. brands like Raceseng or WC Lathe Werks) is manufactured:
- CNC Milling Stage
- Starts as a solid aluminum block.
- Mills out the basic shape (e.g., a sphere with a flattened top).
- Adds grip patterns (like dimples or grooves) and any laser-engraved logos.
- CNC Turning Stage
- The pre-milled blank is mounted on a lathe.
- Precision-turned to final diameter (e.g., 2″ for a classic “T-handle” look).
- Threads are cut (e.g., for a Mustang’s shifter thread pitch).
- Final polishing or anodizing (for color options like red/blue/black).
This combo ensures both durability (no glued-on inserts) and aesthetic customization—key selling points for American car modders.
4. Other U.S.-Relevant Applications
Beyond shift knobs, this hybrid approach is used for:
- Aerospace: Turbine blades (milled airfoils + turned mounting surfaces).
- Motorcycle parts: Custom brake levers or footpegs.
5. Key Takeaways for American Manufacturers & Hobbyists
- For performance parts, milling-first allows radical designs (e.g., knobs with integrated LED shift lights).
- For cost efficiency, it reduces wasted material vs. turning a large billet down to size.
- For quality, it ensures threads won’t strip (a headache in cheap aftermarket knobs).
Whether you’re a hot rod builder, a CNC shop owner, or just a gearhead who loves customizing your ride, understanding this process helps pick the right manufacturing partner—or even DIY your own knob on a hobbyist CNC!
Got a wild shift knob design in mind? Now you know why “mill then turn” might be your best bet. 🚗💨